 food photography composition: Tips and Techniques” width=”1024″ height=”585″ />
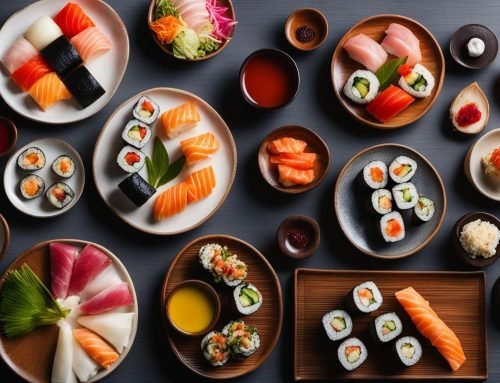
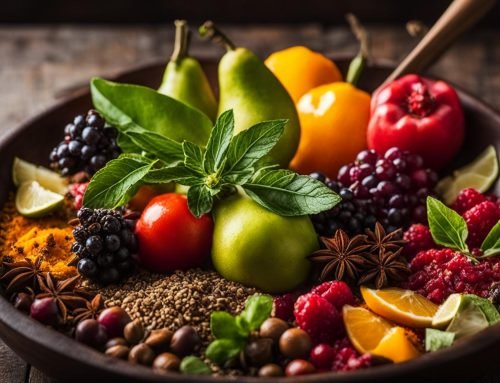
When it comes to food photography, capturing the perfect composition is essential for creating captivating and mouth-watering images. Whether you’re an aspiring food photographer or looking to improve your skills, mastering food photography composition can take your work to the next level. By incorporating different perspectives, angles, lighting techniques, and editing strategies, you can create stunning visuals that make your audience crave the dishes you photograph.
Key Takeaways:
- Experiment with different perspectives and angles to add visual interest to your compositions.
- Invest in a DSLR or mirrorless camera with manual settings and prime lenses for maximum control over your images.
- Utilize natural light whenever possible, positioning your dish near a window for soft, diffused lighting.
- Compose your photographs using the rule of thirds, color contrast, and negative space for a dynamic and visually appealing image.
- Pay attention to small details and enhance them using selective focus, garnishes, and lighting techniques.
Choosing the Right Camera and Lenses for Food Photography
When it comes to food photography, having the right camera and lenses can make a significant difference in the quality of your images. To capture stunning food photographs that showcase the delicious details and textures, consider the following tips and tricks.
- Invest in a DSLR or mirrorless camera with manual settings: These types of cameras offer greater control over exposure, focus, and other settings, allowing you to capture your food subjects with precision.
- Opt for prime lenses with wide apertures: Prime lenses, such as a 50mm f/1.8, have a fixed focal length and wide maximum aperture, which enables you to create that dreamy blurred background while keeping the main subject sharp and in focus.
- Consider macro lenses for intricate food details: Macro lenses are specifically designed to capture close-up shots with incredible detail. They are perfect for highlighting the small elements and textures that make food visually appealing.
- Don’t forget a sturdy tripod: A tripod is an essential tool for food photography as it provides stability and helps you achieve precise compositions. It also allows for longer exposure times, which can be useful when shooting in low light situations.
By choosing the right camera and lenses for your food photography, you can elevate your images and capture the essence of your dishes with clarity and creativity.
Understanding Lighting Techniques in Food Photography
Proper lighting is a crucial element in food photography, as it can make or break the overall aesthetic of your images. When it comes to capturing mouth-watering dishes, natural light is often the best option. The soft, diffused light it provides can give your photographs a warm and inviting look. To take advantage of natural light, position your dish near a window where the light is abundant. This will help you capture flattering lighting that showcases the colors and textures of the food.
However, it’s important to be mindful of harsh sunlight that can create unwanted shadows or wash out the details of your subject. If natural light is not available or insufficient, there are other techniques you can employ to achieve great results. Light diffusers, such as a white sheet or translucent umbrella, can help soften the light and create a more even illumination on your food. Reflectors, on the other hand, bounce light back onto your subject, reducing shadows and adding a touch of brightness.
Experimenting with different light setups can also add depth and dimension to your food compositions. For instance, using a combination of direct and diffused light can create interesting highlights and shadows. Additionally, you can try backlighting to create a beautiful halo effect around your dish or side lighting to accentuate the textures and make them look more appealing and delicious.
Capturing the Perfect Lighting for Your Food Photography
- Utilize natural light by positioning your dish near a window
- Avoid harsh sunlight that can create unwanted shadows and wash out details
- Use light diffusers to soften the light and reduce harsh shadows
- Add reflectors to bounce light back and create a more even illumination
- Experiment with different light setups for added depth and dimension
- Try backlighting or side lighting to accentuate textures and make the food appear more appealing
By understanding and mastering lighting techniques in food photography, you can enhance the overall visual appeal of your images and make your dishes look even more enticing. Remember to experiment and find the lighting setup that best complements the specific dish you’re photographing. With practice, you’ll develop a keen eye for lighting and be able to capture stunning food photographs that leave viewers craving a taste.
Composing Your Food Photographs for Maximum Impact
Composition is a fundamental aspect of food photography that can make or break the visual appeal of your images. By following a few key composition rules and incorporating creative food styling ideas, you can elevate your photographs and capture the attention of your audience.
One essential composition rule to keep in mind is the rule of thirds. Imagine dividing your frame into a 3×3 grid, and placing the main subject along the lines or at the intersecting points. This technique creates a dynamic and visually pleasing composition that draws the viewer’s eye to the focal point of your image.
Another way to enhance your food photography composition is by considering color contrast. Complementary or analogous colors can make your dish stand out and create a visually striking image. Experiment with different color combinations to find what works best for showcasing the unique qualities of your food.
Additionally, don’t underestimate the power of negative space. Leaving empty space around your subject can provide a sense of depth and allow the main dish to take center stage. Make sure to balance the negative space with the other elements in your composition for a harmonious and captivating image.
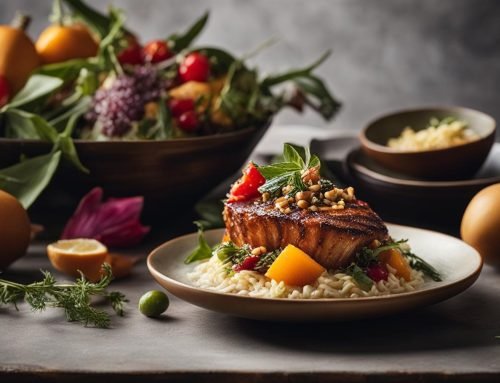
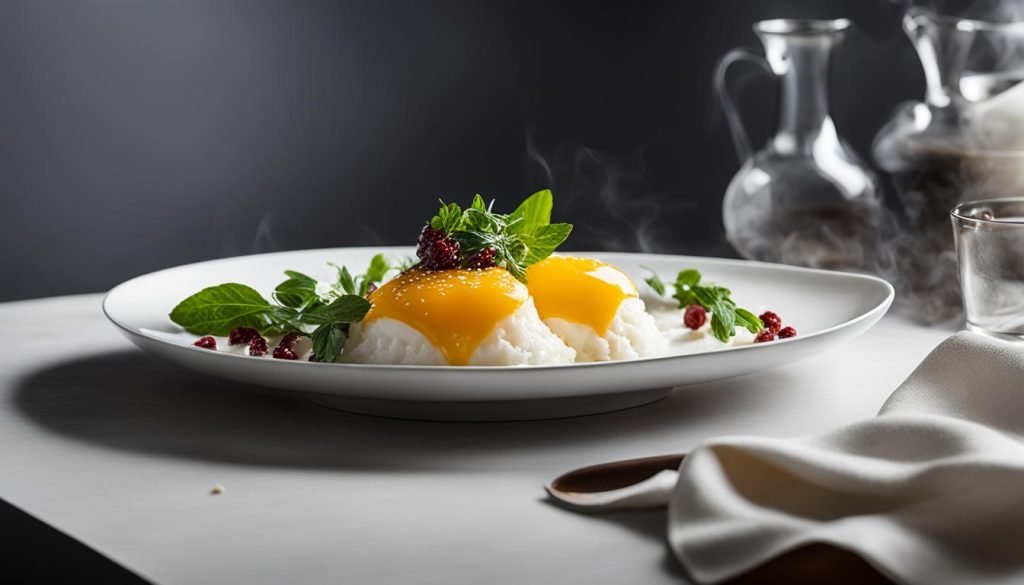
Enhancing Details in Food Photography
When it comes to capturing stunning food photographs, paying attention to the smallest details can make a big difference. Here are some food styling techniques to enhance the details in your images and inspire your creativity.
1. Selective Focus
Using selective focus is a powerful technique to draw attention to specific areas or features of the dish. Create a shallow depth of field by using a wide aperture, such as f/2.8 or lower, to blur the background and isolate the main subject. This technique adds a dreamy and artistic touch to your food photography.
2. Garnishing and Styling
Garnishing your dish with herbs, spices, or sauces can elevate its visual appeal and make it more appetizing. Experiment with different props and food styling techniques to add texture, color, and depth to your compositions. Consider using complementary garnishes that enhance the overall presentation and highlight the key elements of the dish.
3. Lighting Techniques
Lighting plays a crucial role in highlighting details and textures in food photography. Backlighting or side lighting can accentuate the intricate details of the food, casting beautiful shadows and creating a sense of depth. Experiment with different lighting setups to find the one that best enhances the details of your dishes.
Remember, the ultimate goal is to showcase the deliciousness and beauty of the food. By using selective focus, garnishing and styling techniques, and experimenting with lighting, you can enhance the details in your food photography and create inspiring images that leave viewers craving for more.
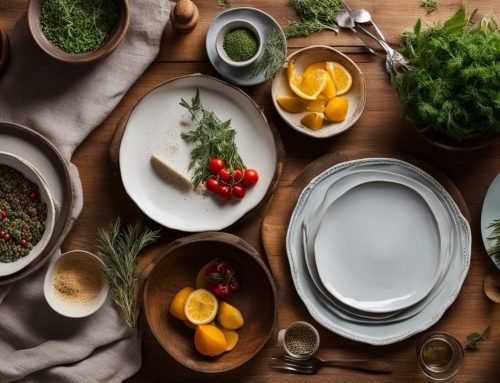
Choosing the Right Backgrounds for Food Photography
Neutral Backgrounds
When selecting a background for your food photography, opt for simple and neutral colors such as white, grey, or beige. These backgrounds help shift the focus onto the food itself, allowing the vibrant colors and textures to stand out. A clean and uncluttered background creates a sense of elegance and sophistication in your composition.
Tip: Consider using wooden textures or clean, white surfaces as attractive and natural backdrops for your food photographs.
Complementary Colors and Textures
When choosing a background, take into account the colors and textures of the food you are photographing. Select backgrounds that complement and enhance the visual appeal of the dish. For example, if you have a dish with warm tones, consider using a background with cool tones to create a pleasing contrast.
Tip: Experiment with different props and textures that complement the food, such as linens, ceramics, or rustic kitchenware, to add interest and depth to your compositions.
Using Negative Space
Utilizing negative space, or empty space around the main subject, can help create a sense of balance and draw attention to the food. Leaving some areas of the frame empty allows the viewer’s eye to focus solely on the dish and its details. Negative space can also add a sense of depth and elegance to your compositions.
Tip: Play with the placement of the food within the frame and experiment with different compositions to find the perfect balance of negative space.
Remember, the choice of background in food photography is crucial in enhancing the overall presentation of the dish. By opting for simple and neutral backgrounds, selecting complementary colors and textures, and utilizing negative space, you can create visually appealing and enticing food photographs.
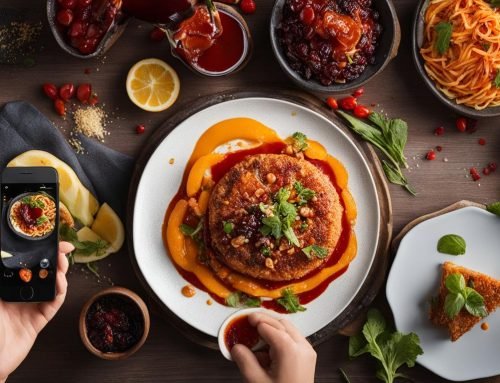
Editing and Enhancing Your Food Photographs
After capturing your food photographs, the next step is to edit and enhance them to bring out their full potential. Post-processing can greatly improve the overall look and feel of your images, making them more visually appealing and enticing. One of the most powerful tools for editing food photographs is Adobe Lightroom. With Lightroom, you can adjust colors, contrast, exposure, and other settings to achieve the desired aesthetic.
Experiment with different editing techniques to enhance the natural qualities of the food while maintaining a balance. You want to showcase the deliciousness and freshness of the dish without making it appear unrealistic or overly manipulated. Pay attention to the details, such as adjusting the brightness and saturation of the food to make it pop, and fine-tuning the overall composition to create a harmonious image.
“Editing is like adding the final seasoning to your dish. It helps to elevate the flavors and bring out the best qualities of the ingredients.” – Food Photography Pro
Recommended Editing Techniques:
- Color Correction: Adjust the white balance and color temperature to ensure accurate representation of the food’s true colors.
- Contrast and Clarity: Enhance the contrast and clarity to add depth and make the food stand out.
- Exposure and Highlights: Adjust the exposure and highlights to balance the overall brightness and prevent any blown-out areas.
- Sharpening: Apply subtle sharpening to enhance the details of the food without making it look artificially oversharpened.
- Crop and Straighten: Use the crop and straighten tools to refine the composition and remove any distractions.
Remember, editing is a creative process, and there are no fixed rules. Explore different styles, experiment with presets, and develop your own editing workflow that suits your unique vision and style. With practice and experimentation, you’ll be able to take your food photographs to the next level and create stunning visuals that leave viewers craving for more.
Conclusion
Mastering food photography composition is an exciting journey that requires a blend of technical skills, creativity, and attention to detail. By embracing different perspectives, lighting techniques, composition rules, and editing strategies, you can capture stunning and mouth-watering food photographs that truly stand out.
Remember to experiment with various angles and focal lengths to find unique perspectives that highlight the best qualities of the food. Paying attention to lighting is crucial, whether it’s utilizing natural light or using diffusers and reflectors to soften shadows. Composing your shots using the rule of thirds, color contrast, and negative space can create visually captivating images.
Don’t forget to enhance the details of your photographs by using selective focus, garnishing with herbs and spices, and utilizing backlighting or side lighting to accentuate textures. When choosing backgrounds, opt for simple and neutral options that shift the focus onto the food itself. And in your post-processing, maintain a balance between enhancing the natural qualities of the food and making it appear unrealistic.
Ultimately, the key to mastering food photography composition is to experiment, practice, and develop your own unique style. With dedication and perseverance, you can elevate your food photography to new heights and create images that leave viewers craving for more.
FAQ
What is the most common mistake beginners make in food photography composition?
Many beginners tend to shoot from a straight-on angle, resulting in images that can appear boring or expected.
How can I enhance my food photography compositions?
Experiment with different perspectives and angles, such as shooting from a top-down perspective or a lower angle with the camera further away.
What gear is recommended for food photography?
Having a DSLR or mirrorless camera with manual settings is recommended. Prime lenses with wide apertures, such as a 50mm f/1.8, are ideal for capturing dreamy blurred backgrounds and sharp subjects.
What is the importance of proper lighting in food photography?
Proper lighting is crucial as it can provide a soft, diffused look to your images. Natural light is often the best option, but using light diffusers or reflectors can help soften the light and reduce shadows.
How can I improve the composition of my food photographs?
Consider using the rule of thirds, playing with color contrast and negative space, and experimenting with different angles and perspectives.
How can I make my food photographs more appealing and appetizing?
Pay attention to small details by using selective focus, garnishing with herbs or sauces, and using backlighting or side lighting to accentuate textures.
What kind of backgrounds work well for food photography?
Opt for simple and neutral backgrounds, such as white, grey, or beige. Wooden textures or clean, white surfaces can also create attractive backdrops. Consider the colors and textures of the food when selecting a background.
How can I enhance my food photographs through post-processing?
Adobe Lightroom is a powerful tool for adjusting colors, contrast, and exposure. Experiment with different editing techniques, but be mindful of maintaining a balance and enhancing the natural qualities of the food.