 food photography lighting – Step by Step Guide” width=”1024″ height=”585″ />
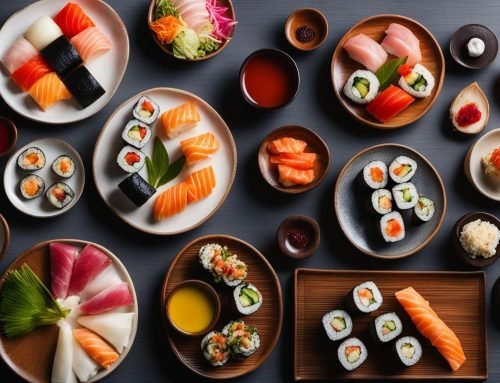
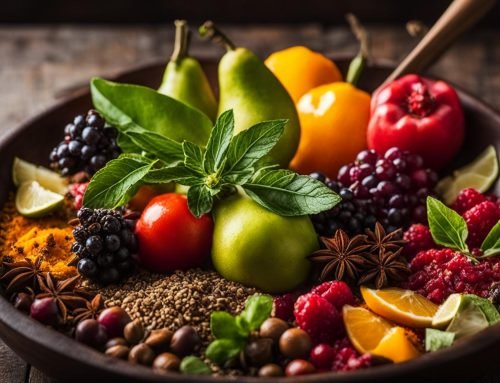
Lighting is the most important aspect of food photography as it determines the mood and quality of the images. The basic setup for food photography involves using side light, a diffuser, and a reflector to create soft, even lighting. Natural light is commonly used in food photography, but artificial studio lighting can provide more control and flexibility. Understanding different lighting techniques and how they can enhance your food photos is essential for mastering the art of food photography.
Key Takeaways:
- Proper lighting is crucial in food photography to capture the details, textures, and mood of the food.
- Natural light creates a soft, diffused effect, while artificial light offers more control.
- Common lighting setups include side light, backlight, and overhead light.
- Recommended lighting equipment for food photography includes diffusers, reflectors, and softboxes.
- Experimenting with different lighting techniques and angles can enhance your food photography.
The Importance of Lighting in Food Photography
The art of food photography relies heavily on the effective use of lighting. Lighting plays a vital role in capturing the details, textures, and overall mood of the food, making it look appetizing and enticing to viewers. By understanding the importance of lighting and how it can impact your food photographs, you can create stunning images that truly showcase the beauty of your culinary creations.
Proper lighting setup is essential in food photography as it helps to create soft, even lighting that enhances the colors, highlights, and shadows in the food. This setup typically involves using side light, a diffuser, and a reflector. Side light placed next to the subject creates a soft and diffused lighting effect, while the diffuser helps to spread the light evenly and reduce harsh shadows. The reflector bounces light back onto the food, filling in any areas that need additional illumination. This combination of lighting techniques can help you achieve the desired mood and ambiance in your food photographs.
“The right lighting can enhance the colors, highlights, and shadows in the food, making it more visually appealing.”
Furthermore, understanding the different types of light sources can greatly impact your food photography. Natural light, such as sunlight, provides a soft and diffused lighting effect that beautifully captures the natural colors and textures of the food. It is often favored for its organic and authentic look. On the other hand, artificial light, such as studio lighting, offers more control and flexibility, allowing you to manipulate the intensity, direction, and color of the light to achieve a desired effect. Both natural and artificial light have their own advantages, and choosing the right one depends on your desired outcome and the shooting conditions.
In conclusion, mastering the art of food photography involves recognizing the significance of lighting and how it can elevate the visual appeal of your food photographs. By understanding the importance of lighting, implementing the appropriate lighting setup, and utilizing the right light sources, you can create stunning images that effectively showcase your culinary creations and engage your viewers.
Natural Light vs Artificial Light in Food Photography
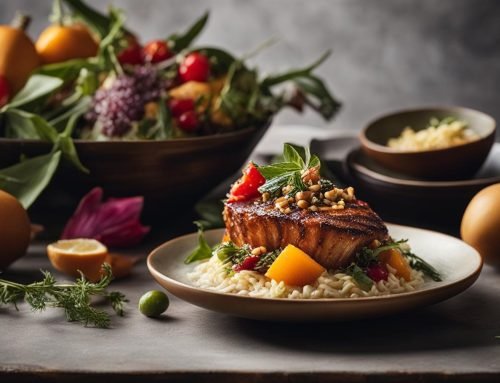
When it comes to food photography, the choice between natural light and artificial light plays a crucial role in shaping the final outcome of your images. Natural light, such as sunlight, offers a soft and diffused lighting effect that beautifully captures the natural colors and textures of the food. This type of lighting is often preferred for its organic and authentic look, as it enhances the appetizing qualities of the dish.
On the other hand, artificial light, like studio lighting, provides photographers with more control and flexibility. With artificial light, you can manipulate the intensity, direction, and color of the light to achieve a desired effect. This type of lighting is especially useful when shooting in controlled environments, allowing you to create a specific mood or highlight specific details in the food.
In food photography, natural light brings out the true essence of the food, while artificial light offers precision and control over the lighting conditions.
The advantages of natural light in food photography lie in its ability to create a soft and flattering ambiance, emphasizing the natural colors and textures of the food. It also lends a sense of authenticity, making the viewer feel like they are experiencing the dish in real life. Natural light is readily available and doesn’t require additional equipment, making it an accessible option for photographers.
On the other hand, artificial light provides advantages in terms of consistency and control. With artificial light, you can easily adjust the intensity, direction, and color temperature to achieve the desired effect. It is particularly useful when shooting in low-light conditions or when working with challenging elements such as reflective surfaces or intricate food styling.
Finding the Balance
As a food photographer, it is important to experiment with both natural and artificial light to understand their strengths and limitations. Each type of light has its own advantages, and the choice between the two ultimately depends on your creative vision, the specific requirements of your shoot, and the desired outcome for your images. By exploring the unique qualities of natural and artificial light, you can develop a versatile skill set and elevate your food photography to new heights.
Types of Lighting Setups for Food Photography
When it comes to food photography, the lighting setup plays a crucial role in capturing the desired mood and enhancing the visual appeal of the food. There are various types of lighting setups that you can utilize to achieve stunning results. Here are some popular setups to consider:
- Side Light: This setup involves placing the light source next to the subject, creating soft and diffused lighting. It helps to highlight the textures and details of the food, resulting in a visually appealing image.
- Backlight: With this setup, the light comes from behind the subject, creating a dramatic effect. It enhances the textures and details of the food, adding depth and visual interest to the photograph.
- Overhead Light: This setup is achieved by positioning the light source directly above the subject. It provides even lighting, eliminating shadows and creating a clean, polished look for the food.
Each lighting setup offers a different look and feel to your food photographs. The choice of setup depends on the desired mood, composition, and style you want to achieve.
Experimenting with different lighting setups can help you discover the one that best complements your subject and brings out its unique qualities. Don’t be afraid to play around with different angles and positions to find the perfect lighting setup that enhances the appeal of your food photography.
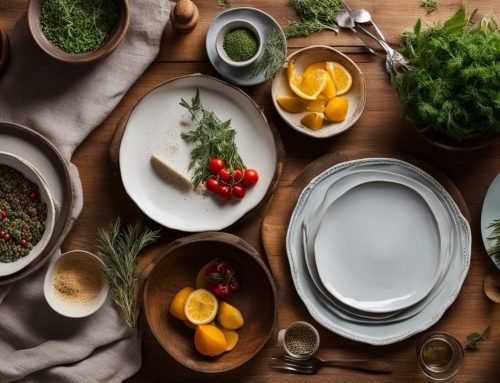
Recommended Lighting Equipment for Food Photography
When it comes to food photography, having the right lighting equipment is essential to capture professional-quality images. Here are some recommended lighting equipment options that can help elevate your food photography:
- Diffusers: These are used to soften and diffuse the light, creating a more even and natural-looking lighting effect on the food. They help to reduce harsh shadows and highlight the details and textures of the food.
- Reflectors: Reflectors bounce light back onto the subject, filling in shadows and adding dimension to the image. They can be used to enhance the natural light or artificial light source and create a more balanced lighting setup.
- Strobes: Strobes are powerful flash units that provide a burst of light for a controlled and intense lighting effect. They are commonly used in studio settings and allow for precise control over the lighting setup.
- Softboxes: Softboxes are light modifiers that help to create soft and diffused lighting. They are used to eliminate harsh shadows and create a more flattering and even light distribution on the food.
- Continuous Lights: Continuous lights provide a constant light source and are ideal for those who prefer to see the lighting effect in real-time. They can be adjusted to different intensities and colors, allowing for greater control over the lighting setup.
When it comes to choosing lighting equipment, there are several reputable brands known for their quality and reliability. Some recommended lighting brands for food photography include Neewer, Flashpoint, and Adorama. These brands offer a wide range of lighting equipment options to suit different needs and budgets, ensuring that you can find the right tools to enhance your food photography.
Investing in the right lighting equipment is crucial for achieving professional-level results in food photography. With diffusers, reflectors, strobes, softboxes, and continuous lights, you can create stunning images that capture the textures, colors, and details of the food. Remember to choose equipment from trusted brands and experiment with different lighting setups to find the perfect combination for your unique style and vision.
Tips for Perfecting Food Photography Lighting
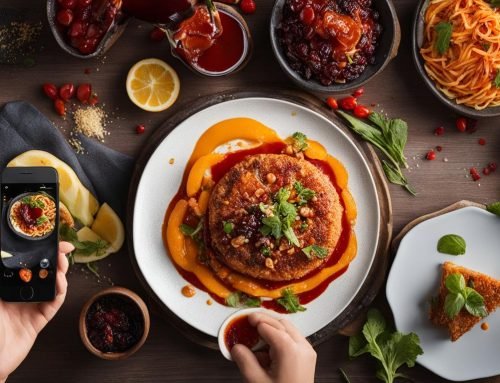
When it comes to food photography, lighting plays a crucial role in capturing the mouthwatering details and textures of your dishes. To enhance your food photography lighting, consider the following tips:
- Experiment with different lighting setups: Try using side light, backlight, or overhead light to create different effects that bring out the best in your food. Each setup has its own unique qualities, so don’t be afraid to get creative and see what works best for your subject.
- Utilize diffusers and reflectors: These tools can help you control the intensity and direction of the light, allowing you to create soft, even lighting that brings out the natural colors and textures of your food.
- Pay attention to the time of day: Natural light changes throughout the day, so take advantage of the different moods and ambiances it can create. Experiment with shooting during different times of the day to find the lighting that best suits your vision.
- Adjust the lighting for different effects: Don’t be afraid to play around with your lighting to create different effects. You can try using dramatic lighting for a more moody atmosphere, or play with reflections and symmetrical compositions for a unique touch.
By following these tips and techniques, you can enhance your food photography lighting and capture stunning images that will engage and inspire your viewers. Remember to practice and experiment with different lighting setups and techniques to find your own signature style. With time and dedication, you’ll master the art of food photography lighting and create photos that make mouths water.
Conclusion
Mastering food photography lighting is essential for creating stunning images that capture the details, textures, and mood of the food. By understanding the importance of lighting, experimenting with different setups and angles, and using the right equipment, you can enhance your food photography skills.
Remember to pay attention to details, such as the intensity and direction of the light, to create the desired effect. Use diffusers and reflectors to control and manipulate the lighting. Whether you choose to work with natural light or artificial light, each has its own advantages and can be used to achieve different effects.
Practice different lighting techniques and pay attention to the time of day to capture the desired mood and ambiance. With persistence and dedication, you can master food photography lighting and create mouthwatering images that engage and inspire your viewers.
FAQ
Why is lighting important in food photography?
Lighting is crucial in food photography as it helps to capture the details, textures, and mood of the food. It enhances the colors, highlights, and shadows, making the food more visually appealing.
What is the basic lighting setup for food photography?
The basic setup involves using side light, a diffuser, and a reflector to create soft, even lighting.
What is the difference between natural light and artificial light in food photography?
Natural light provides a soft and diffused lighting effect, while artificial light offers more control and flexibility.
What are the different types of lighting setups for food photography?
The most common setups include side light, backlight, and overhead light.
What lighting equipment is recommended for food photography?
Recommended lighting equipment includes diffusers, reflectors, strobes, softboxes, and continuous lights.
What tips can help improve food photography lighting?
Experiment with different lighting setups, angles, and techniques. Use diffusers and reflectors to control the intensity and direction of light.