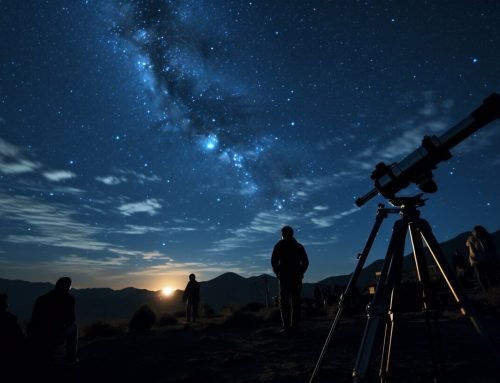
 astrophotography tips” width=”1024″ height=”574″ />
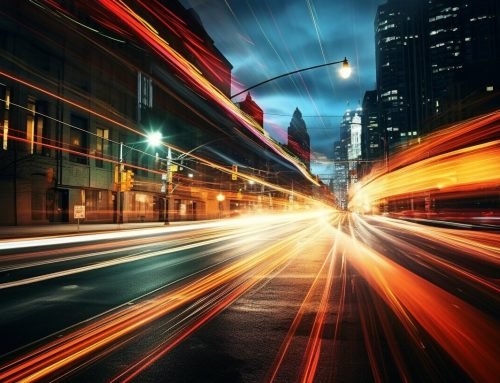
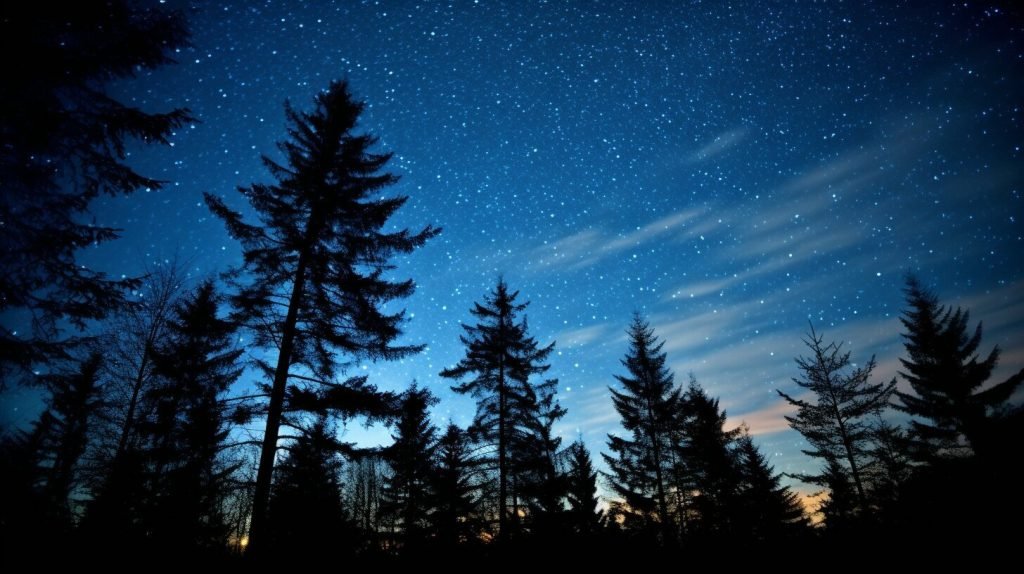
Have you ever looked up at the night sky and been mesmerized by the beauty of the stars, planets, and the Milky Way? With astrophotography, you can capture this stunning beauty and awe-inspiring majesty of the cosmos in breathtaking images that truly capture the essence of the night sky. Whether you’re a seasoned photographer or just starting out, there are essential astrophotography tips that can help you take your night sky photography to the next level.
From understanding the basics of astrophotography to choosing the right camera and equipment, there are many factors to consider when capturing stunning images of the celestial bodies above. With the right techniques, settings, and equipment, you can unlock the secrets of the cosmos and capture images that truly showcase the beauty of the night sky.
Key Takeaways:
- Essential astrophotography tips can help you capture stunning images of the night sky.
- Understanding the basics of astrophotography is crucial to getting started.
- The choice of camera and equipment plays a critical role in astrophotography.
- Long exposure photography is a key technique in capturing the beauty of the cosmos.
- Edit and process your astrophotography images to bring out their full potential.
Understanding the Basics of Astrophotography
Are you new to astrophotography and feeling overwhelmed? Don’t worry, we’ve all been there! Understanding the basics is crucial and can make a significant difference in the quality of your astrophotography images. Here are some essential astrophotography techniques, gear, and tips for beginners to help you get started:
Astrophotography Techniques
Long exposure photography is a fundamental technique in astrophotography. It allows you to capture more light and details from dim objects such as stars, nebulae, and the Milky Way. To achieve great long exposures, you’ll need a sturdy tripod, a cable release, and a camera that allows manual control over shutter speed and ISO.
Another technique is stacking multiple images to reduce noise and improve image quality. You can use software such as DeepSkyStaker, Sequator, or Photoshop to stack your images, giving you cleaner, clearer images than a single long exposure.
Astrophotography Gear
The gear you’ll need for astrophotography depends on the type of astrophotography you want to do. Basic gear includes a DSLR camera, wide-angle lenses, a tripod, and a cable release. You can also invest in a telescope, a star tracker, and specialized astrophotography cameras such as a dedicated planetary or deep-sky camera.
For lenses, choose a wide-angle lens with a fast aperture (f/2.8 or lower) for Milky Way and landscape astrophotography. Prime lenses generally provide better image quality than zoom lenses, but zoom lenses are more versatile. A good starting point is a 24mm or 14mm lens for full-frame cameras or a 16mm lens for crop sensor cameras.
Astrophotography for Beginners Tips
Before heading out, plan your location and check weather and astronomical conditions. Use apps like ClearOutside or Stellarium to plan when and where the Milky Way or other celestial objects will be visible.
Set your camera to manual mode, and choose a wide aperture and high ISO for Milky Way photography. For tracking shots, set your shutter speed according to your lens’ focal length (i.e., 500 rule or 600 rule).
Remember to focus manually to infinity, using live view or magnification to check for sharpness. Use a red light torch to avoid ruining your night vision and disturbing other stargazers.
Invest in a good photo editing software to enhance your astrophotography images. Basic adjustments such as contrast, brightness, and saturation can make a significant difference.
By following these astrophotography techniques, gear, and tips for beginners, you’ll be on your way to capturing stunning celestial images in no time.
Choosing the Right Camera for Astrophotography
When it comes to astrophotography, choosing the right camera is crucial in capturing stunning images of the night sky. The camera needs to be able to capture the faint light from celestial objects. So, what should you look for when selecting an astrophotography camera and equipment?
Astrophotography Camera
One of the most critical factors in selecting a camera for astrophotography is its ability to take long exposures. Look for a camera that has a manual mode and can take exposures of at least 30 seconds or longer. Full-frame cameras are preferred since they can capture more light and have a wider field of view, but they can also be pricey. APS-C crop sensor cameras are a great alternative.
Additionally, consider the camera’s noise performance and ISO capability. A camera with a high ISO range can capture more light, but it may also have more noise in the image. Look for a camera with good noise reduction and ISO performance to address this issue.
Astrophotography Equipment
In addition to the camera, you will also need to consider other equipment to capture breathtaking images of the cosmos. A sturdy tripod is essential to keep the camera steady during long exposures. A remote shutter release or intervalometer is also necessary to prevent camera shake.
You will also need a lens with a wide aperture, such as f/2.8 or lower, to capture more light. Consider a fast prime lens or a wide-angle zoom lens. A focal length between 14-35mm is ideal since it can capture a wide field of view.
Lastly, consider investing in a light pollution filter to improve your images’ quality, especially if you live in an urban area with high light pollution.
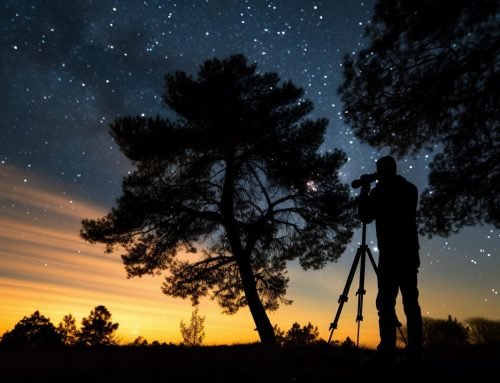
Mastering Long Exposure Photography for Astrophotography
If you want to capture stunning images of stars, nebulae, and other celestial objects, mastering long exposure photography is a must. This astrophotography technique involves using a slower shutter speed to capture more light and create stunning images of the night sky.
Understanding Long Exposure Photography
Long exposure photography helps astrophotographers capture more light and create images with a greater sense of depth and clarity. By using a slower shutter speed, you can capture more light from the stars and other celestial objects, making them appear brighter and more prominent in your images.
Pro Tip: When capturing long exposures of the night sky, avoid taking photos when the moon is full or nearly full. The bright light of the moon can wash out the stars and other celestial objects in your images.
Setting Up Your Camera for Long Exposure Photography
To capture the best astrophotography images with long exposure photography, you’ll need to make a few adjustments to your camera settings. Here are some tips to help you get started:
- Use a tripod to keep your camera steady during long exposures
- Set your camera to manual exposure mode to have full control over the settings
- Set the aperture to its widest setting to capture more light
- Adjust the ISO setting to a high value between 800 and 3200
- Set your camera to bulb mode to keep the shutter open as long as you want
- Use a remote trigger or intervalometer to avoid camera shake
By following these tips, you’ll be well on your way to mastering long exposure photography for astrophotography.
Experimenting with Different Long Exposure Settings
Once you’ve mastered the basic techniques of long exposure photography, it’s time to experiment with different settings to create your own unique astrophotography images.
- Try different shutter speeds to capture different effects
- Experiment with different ISO settings to capture more or less detail
- Use different lenses or focal lengths to create different perspectives of the night sky
Remember, astrophotography is an art form, and experimentation is key to developing your own style and creating images that truly capture the beauty of the cosmos.
By mastering long exposure photography and experimenting with different settings, you’ll be well on your way to capturing stunning images of the night sky with your astrophotography camera.
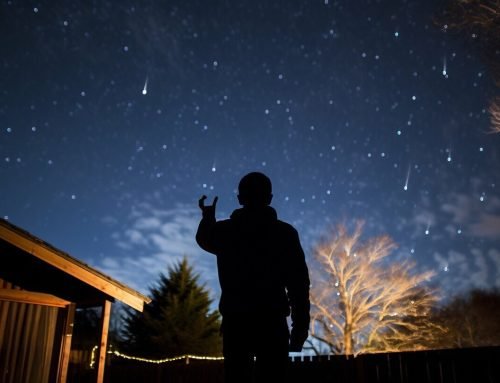
Essential Tips for Capturing Stars and Nebulae
The night sky is a stunning canvas of stars and nebulae that can be challenging to capture in all its glory. Follow these essential astrophotography tips to capture stunning images of the night sky.
Find the Right Location
The location you choose to shoot at is crucial in astrophotography. Look for places away from city lights and light pollution for the best results. State parks, forests, and mountains are excellent locations to capture the night sky’s beauty.
Use Manual Focus
For astrophotography, using manual focus is recommended as it helps you capture sharp and clear images of stars and nebulae. Use the live-view function on your camera to focus on a bright star and adjust the focus until it’s as sharp as possible.
Use a Tripod or a Stable Base
A tripod or a stable base is a must for astrophotography. It helps you keep your camera steady, reducing the risk of blurry images. Use a remote or timer to trigger the camera and avoid any camera shake.
Adjust Your Camera Settings
Adjusting your camera settings is critical in astrophotography. Use a wide aperture to capture more light and lower your shutter speed to allow more light to enter the camera. Increase your ISO for brighter images, but be careful not to increase it too high as this can introduce digital noise in your pictures.
Experiment with Different Techniques
Try different techniques to capture the night sky’s beauty. You can use a star trail technique to capture the movement of stars over time or use a wide-angle lens to capture more of the night sky. Don’t be afraid to experiment and find your unique style.
Be Patient and Persistent
Like all types of photography, astrophotography requires patience and persistence. Be willing to spend time exploring different locations, finding the right settings, and experimenting with techniques. Don’t be discouraged if your first attempts don’t produce the results you want. Keep practicing, and you’ll soon master the night sky.
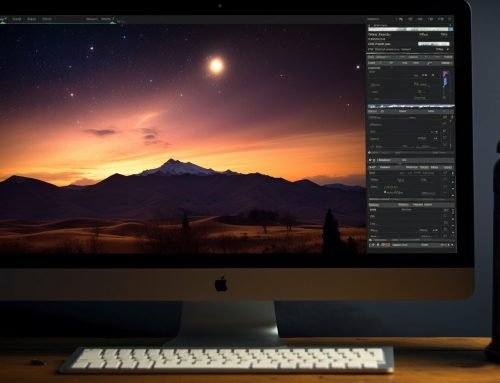
Editing and Processing Your Astrophotography Images
Capturing stunning images of the night sky is only half the battle with astrophotography. The other half involves editing and processing your images to bring out the best in them. In this section, we’ll provide you with essential astrophotography techniques for editing and processing your images.
Shoot In RAW Format
When it comes to astrophotography, shooting in RAW format is a must. RAW images contain all the data captured by your camera’s sensor, which allows for more flexibility in post-processing.
Adjust White Balance
Adjusting the white balance is crucial to get the colors in your astrophotography images to look accurate. You can use presets or manually adjust the temperature and tint to achieve a natural-looking image.
Reduce Noise
Astrophotography images tend to have a lot of noise, especially when taking long exposures. You can use noise reduction techniques like stacking, dark frame subtraction, or other software-based noise reduction methods to reduce the noise in your images.
Adjust Contrast and Brightness
Adjusting the contrast and brightness will bring out the details in your astrophotography images and make them look more vivid. Use caution, though, as over-editing can ruin the natural look of your image.
Sharpen the Image
Sharpening is the final step in editing and processing your astrophotography images. Use the appropriate settings for your image and apply sharpening selectively to certain areas if necessary.
Editing and processing your astrophotography images can be a daunting task, but by following these essential astrophotography techniques, you’ll be able to make the most out of your captured images.
Conclusion
By now, you should have a good understanding of the essential techniques, gear, and settings needed to capture stunning astrophotography images. Remember, one of the most critical factors in mastering astrophotography is practice and patience. Don’t be discouraged if your first attempts don’t turn out as expected.
When choosing a location for your astrophotography, remember to seek out dark skies away from light pollution. Additionally, be mindful of the weather conditions, as clear, dry nights are optimal for astrophotography.
Tips for Getting Started
Before you head out to capture your first astrophotography image, here are some tips to keep in mind:
- Practice good camera technique by using a tripod, remote shutter, and mirror lockup to minimize camera shake.
- Experiment with different camera settings, such as shutter speed, aperture, and ISO, until you achieve the desired effect.
- Take multiple shots of the same subject using different settings and angles. This way, you’ll have a variety of options to choose from when editing.
- Be patient and persistent. Astrophotography is not a quick and easy process; it requires time and dedication to master.
Finally, don’t forget to enjoy the beauty of the night sky. Take a moment to appreciate the wonders of the cosmos and the privilege of being able to capture them through your camera lens. With the tips provided in this article, you’re well on your way to mastering the art of astrophotography. Happy shooting!
FAQ
What are some essential astrophotography tips for capturing images of the night sky?
Some essential astrophotography tips include finding a dark sky location, using a sturdy tripod, utilizing a remote shutter release, using manual focus, and understanding the exposure triangle.
What are the basics of astrophotography that I should know?
The basics of astrophotography include techniques such as long exposure photography, using the appropriate gear such as a DSLR camera and wide-angle lens, and understanding the concept of light pollution.
How do I choose the right camera for astrophotography?
When choosing a camera for astrophotography, consider factors such as sensor size, ISO capabilities, noise performance, and the ability to shoot in RAW format. It’s also important to consider the camera’s compatibility with astrophotography accessories.
What is long exposure photography and how can I master it for astrophotography?
Long exposure photography involves using longer shutter speeds to capture more light. To master long exposure photography for astrophotography, it’s important to understand the concept of star trailing, use a sturdy tripod, experiment with different exposure times, and have a clear understanding of your camera’s settings.
What are some essential tips for capturing stars and nebulae in astrophotography?
Some essential tips for capturing stars and nebulae in astrophotography include finding a location away from light pollution, using a high-quality lens, using a star tracker for longer exposures, understanding the concept of stacking images, and experimenting with different focal lengths and camera settings.
How can I edit and process my astrophotography images effectively?
When editing and processing your astrophotography images, it’s important to use software such as Adobe Photoshop or Lightroom, adjust the levels and curves to bring out the details, reduce noise, enhance colors, and apply selective adjustments to different areas of the image.