Urban environments transform into a canvas of lights and shadows at night, creating breathtaking opportunities for photographers to capture the essence of cities after dark. However, mastering night street photography requires specialized techniques and gear to overcome low light conditions and take advantage of the creative possibilities that arise in the darkness.
In this article, we will guide you through the essential steps to become a skilled night street photographer. From understanding the unique challenges of nighttime urban photography to mastering camera settings and composition techniques, we will equip you with the knowledge and tools to create stunning images of the city at night.
Key Takeaways:
- Night street photography offers unique creative opportunities for photographers to capture the essence of cities at night.
- Specialized gear and techniques are necessary to overcome low light conditions and take advantage of the creative possibilities of nighttime urban photography.
- Mastering camera settings, composition techniques, and post-processing strategies are crucial steps to become a successful night street photographer.
Understanding Night Street Photography
Night street photography is a unique and rewarding genre that captures the essence of urban environments after dark. Unlike daytime street photography, shooting at night presents challenges and opportunities that require a different approach.
Urban photography, in general, is about capturing the energy, diversity, and character of cities. The night adds a layer of mystery, mood, and drama to the already dynamic urban landscape. Street photography, as a sub-genre, is about capturing candid and authentic moments of people in public spaces.
Therefore, night street photography is about capturing the essence of cities at night through candid photography. It’s about finding beauty and interest in the interplay of light, shadow, and movement. Night street photography can showcase the unique ambiance and character of different cities and cultures.
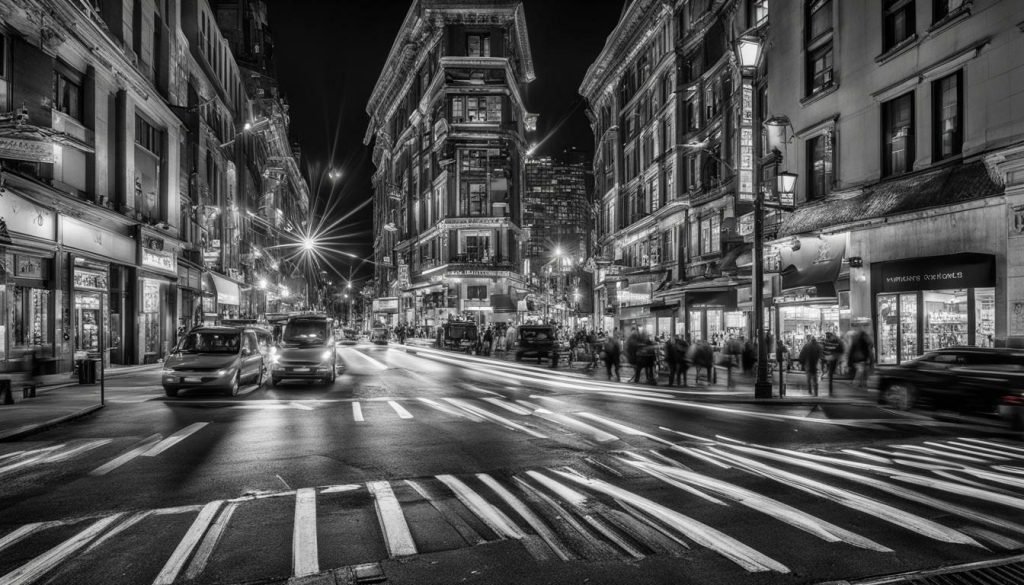
The key to mastering night street photography is to understand the unique challenges it presents and to develop techniques and strategies to overcome them. In the following sections, we’ll explore the essential gear, camera settings, composition tips, and post-processing techniques that can help you capture stunning night street photographs.
Essential Gear for Night Street Photography
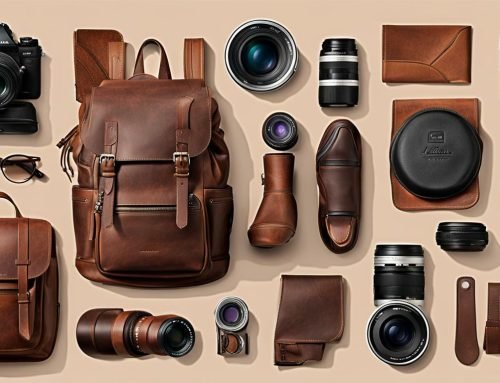
Successful night street photography requires the right equipment to capture sharp and well-exposed images in low light conditions. Here is a comprehensive list of gear to consider when shooting urban landscapes at night:
| Camera Body | A camera with manual controls for adjusting ISO, shutter speed, and aperture is essential for night street photography. Consider a full-frame sensor for better low light performance. |
|---|---|
| Lenses | Fast lenses with wide apertures, such as f/1.4 or f/1.8, are ideal for night street photography. Prime lenses with focal lengths between 24mm to 50mm are versatile for capturing a variety of subjects. |
| Tripod | A sturdy tripod is necessary for stability during long exposures. Look for a tripod with a ball head for easier adjustments. |
| Remote Shutter Release | A remote shutter release cable or wireless remote can prevent camera shake during long exposures. |
| Batteries and Memory Cards | Bring extra batteries and memory cards to ensure you don’t run out of power or storage space during your shoot. |
| Flashlight | A small flashlight can be useful in navigating dark environments and highlighting specific areas of your subject. |
Other accessories to consider include lens filters for creative effects, a camera bag for easy transport, and lens cloths for keeping your gear clean.
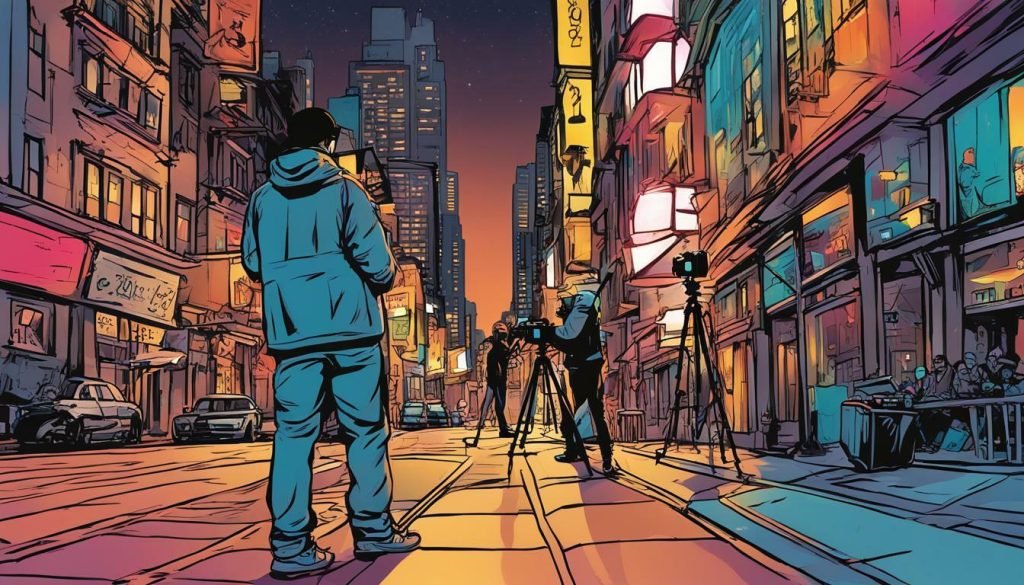
Setting Up Your Camera for Night Street Photography
When it comes to night photography, the right camera settings are crucial to capturing sharp and well-exposed images in low light conditions. Here are some essential camera settings and techniques to consider when shooting night street photography:
1. Use the Right ISO
One of the most important settings to consider when shooting in low light conditions is the ISO. Increasing the ISO allows the camera to capture more light, but also increases the amount of digital noise in the image. For night street photography, it is recommended to use a high ISO between 800-3200, depending on the available light and camera capabilities.
2. Adjust Shutter Speed
The shutter speed determines how long the camera’s sensor is exposed to light. In low light conditions, it is necessary to use slower shutter speeds to allow enough light to enter the lens. This can result in motion blur, which is why it is recommended to use a tripod to keep the camera steady. A shutter speed of around 1/30s to 1/100s is a good starting point for night street photography.
3. Set the Aperture
The aperture controls the amount of light that enters the lens. A wide aperture (small f-number) allows more light to enter the lens but results in a shallow depth of field. For night street photography, it is recommended to use a wide aperture between f/1.4 and f/2.8 to allow as much light as possible to enter the lens.
4. Adjust White Balance
The color temperature of artificial light sources at night can vary greatly, which can affect the overall color balance of your images. Set the white balance manually or use the “tungsten” or “incandescent” white balance presets to eliminate the yellow or orange color cast caused by street lights.
5. Focus Manually
In low light conditions, autofocus can struggle to find the right focus point. It is recommended to switch to manual focus and use the camera’s live view to zoom in on the subject and adjust the focus manually.
By using these camera settings and techniques, you can capture stunning night street photographs that capture the essence of the urban environment in low light conditions.
Composition Tips for Night Street Photography
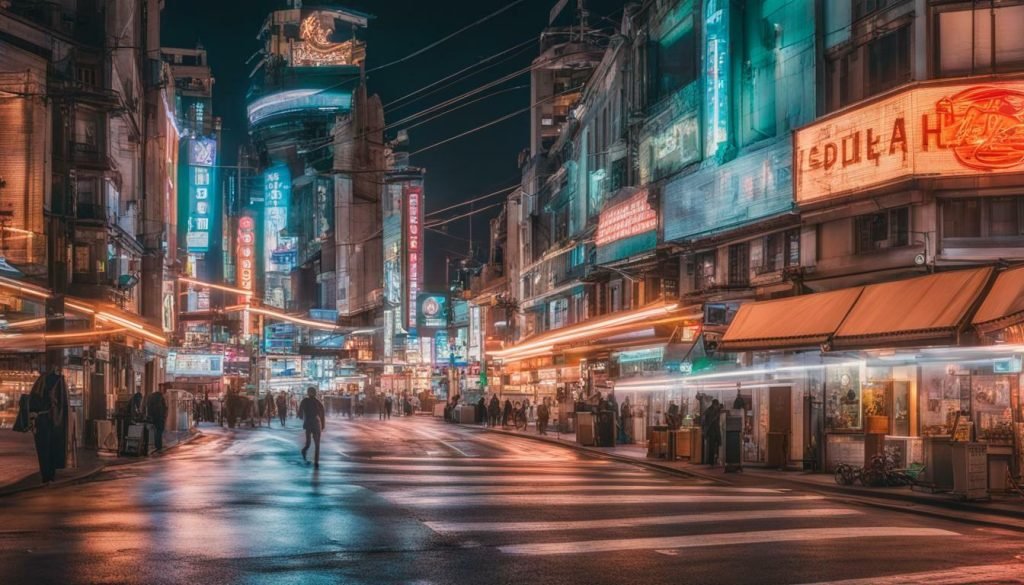
Composition is key in creating visually stunning night street photographs. The unique lighting and energy of urban environments at night provide endless opportunities to experiment with different compositions and visual elements. Here are some tips to help you compose dynamic and engaging night street photographs:
Lead with Leading Lines
Leading lines are a powerful compositional tool that can guide the viewer’s eye through the image. Use the lines of buildings, streets, and other elements in the scene to create a sense of movement and depth in your photographs. Experiment with different angles and perspectives to find the most effective use of leading lines in your night street photography.
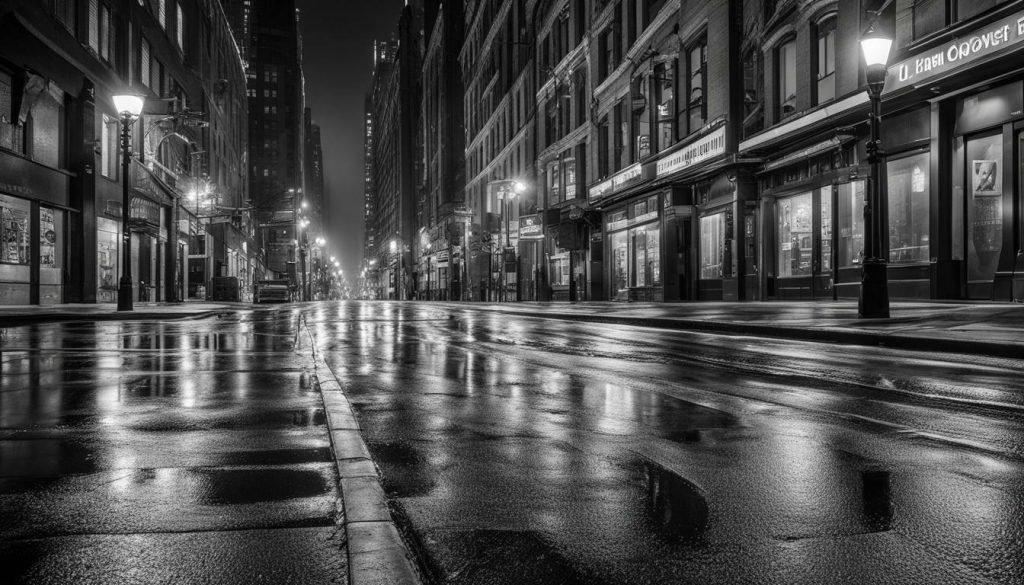
Emphasize Reflections
Reflections can add a unique and captivating element to night street photographs. Look for reflections in puddles, windows, and other surfaces to create a sense of symmetry and depth in your images. Use a low angle or a wide-angle lens to capture a larger reflection and emphasize the contrast between the reflection and the surrounding environment.
Find Interesting Light Sources
Light is an essential element of night street photography and can be used to create dramatic and visually stunning images. Look for interesting sources of light, such as street lights, neon signs, and car headlights, to incorporate into your compositions. Play with the contrast between light and shadow to add depth and atmosphere to your night street photographs.
Explore the Urban Environment
Urban environments offer a wealth of subjects and visual elements to capture in night street photography. Explore different neighborhoods, alleys, and landmarks to find unique and captivating compositions. Look for interesting textures, patterns, and shapes to incorporate into your images.
By using these composition tips in your night street photography, you’ll be able to create dynamic and visually engaging images that capture the energy and essence of urban environments at night.
Mastering Exposure in Night Street Photography
Exposure is one of the most important aspects of night street photography. With low light conditions, getting a well-exposed image can be challenging, but with the right techniques, it is possible to achieve stunning results. Here are some tips to help you master exposure in night street photography.
Use Manual Mode
When shooting in low light conditions, it’s best to use manual mode to have full control over your camera settings. This way, you can adjust the shutter speed, aperture, and ISO values to suit the lighting conditions of your scene.
Adjust ISO for Low Light
Increasing the ISO will help to capture more light, but be aware that it can also increase noise in your images. Start with an ISO of 800 and adjust as needed. Many modern cameras can handle higher ISO settings without significant noise, so experiment to see what works best for your camera.
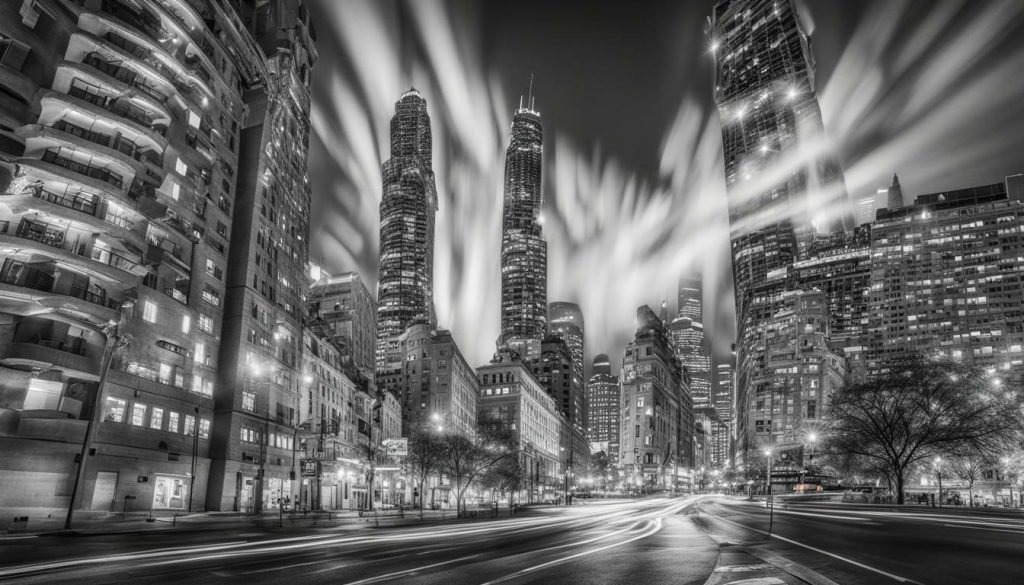
Use Slow Shutter Speeds
Using a slower shutter speed can help to capture more light, but it can also introduce motion blur if there is movement in your scene. A tripod or stable surface can help to keep your camera steady and reduce motion blur. Experiment with different shutter speeds to find the right balance between exposure and sharpness.
Adjust Aperture for Depth of Field
Aperture controls the amount of light that enters the camera and also affects the depth of field in your image. A wider aperture (smaller f-number) will let in more light and create a shallower depth of field, which can add a creative bokeh effect to your images. A narrower aperture (higher f-number) will produce a deeper depth of field, which can be useful if you want more of the scene to be in focus.
Bracket Your Shots
Bracketing is a technique where you take multiple shots of the same scene at different exposure settings. This can help to ensure that you have at least one properly exposed image and can also be useful for creating HDR (High Dynamic Range) images in post-processing.
Create a Custom White Balance
White balance is essential for getting accurate colors in your images. In low light conditions, the automatic white balance setting on your camera may not work well. If you have time, try adjusting your white balance manually or creating a custom white balance setting to get the best color results.
With these tips in mind, you should be able to master exposure in night street photography and capture stunning images even in low light conditions. Remember to practice and experiment with different techniques to find what works best for your style. With persistence and patience, your night street photography can truly shine.
Capturing the Essence of Cities at Night
Urban environments at night offer a wealth of photographic opportunities for capturing the essence of a city’s energy and character. Night street photography provides a unique perspective on the world around us, showcasing the beauty and diversity of urban landscapes after dark. Here are some tips and techniques to help you capture stunning images of city streets at night.
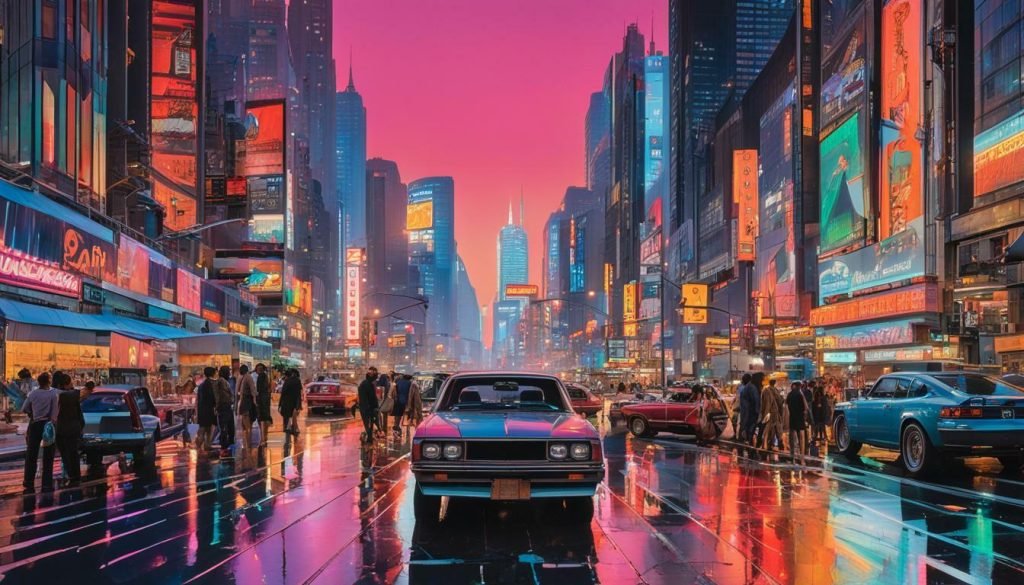
Look for Interesting Light Sources
One of the most captivating aspects of night street photography is the way that light sources can transform the atmosphere of a scene. Look for interesting light sources such as neon signs, streetlights, and car headlights to create a dynamic visual contrast to the darkness of the night. Experiment with different angles and perspectives to capture the reflections and shadows that these light sources create.
Explore Different Perspectives
Don’t be afraid to experiment with different perspectives to capture the essence of a city at night. Try shooting from a high vantage point to create a bird’s eye view of the city’s lights and architecture, or get down low to capture the energy of the street level. Consider shooting through windows or doorways to add depth and layers to your images.
Embrace the Energy of the Night
City streets at night have a unique energy and vibrancy that can make for compelling images. Look for lively areas such as nightlife districts or busy intersections to capture the hustle and bustle of the city after dark. Don’t be afraid to experiment with different shutter speeds to capture motion blur and add a sense of movement and flow to your images.
Highlight the Urban Environment
Urban environments are full of interesting details and textures that can add depth and character to your night street photography. Look for unique architectural details, textures and shapes to create visual interest in your images. Experiment with different compositions and framing to highlight the beauty of the city’s built environment.
By following these tips and techniques, you can capture the unique energy and character of cities at night through your street photography. With practice and experimentation, you’ll be able to create stunning images that showcase the beauty and diversity of urban environments after dark.
Overcoming Challenges in Night Street Photography
Shooting in low light conditions presents a variety of unique challenges for photographers, and night street photography is no exception. However, with the right techniques and tools, it’s possible to capture stunning images even in the darkest streets of the city. Here are some strategies for overcoming common challenges in night street photography.
Dealing with Noise
One of the biggest challenges of shooting in low light conditions is noise, which can degrade the quality of your images and make them look grainy. To combat noise, you can try using a camera with a larger sensor, which typically performs better in low light. You can also use a lower ISO setting to reduce noise, although this may require using slower shutter speeds or wider apertures. Post-processing software can also be used to reduce noise in your images.
Managing Motion Blur
When shooting at night, it’s easy to end up with blurry photos due to camera shake or subject movement. To avoid motion blur, use a tripod or other stabilizing device whenever possible. You can also try increasing your ISO to allow for faster shutter speeds, although this may increase noise. Another option is to use a lens with image stabilization, which can help you capture sharp images even when handheld.
Mastering Focusing Techniques
Focusing can be a challenge in low light conditions, especially when your camera’s autofocus struggles to find a subject to lock onto. To overcome this, try using manual focus or selective focus modes that allow you to choose the focus point yourself. You can also use a flashlight or other light source to help your camera find focus in the dark. Finally, practice your focusing techniques in advance so that you can quickly adjust them in the field.
Adjusting for White Balance
When shooting at night, the color temperature of light sources can vary widely, resulting in color casts in your images. To avoid this, adjust your camera’s white balance settings to match the type of light you’re shooting under. You can also experiment with creative white balance adjustments to achieve different effects and moods in your images.
Conclusion
By mastering these techniques for overcoming challenges in night street photography, you’ll be able to capture stunning images of the urban landscape after dark. Don’t be afraid to experiment and explore the possibilities of shooting in low light conditions – with practice and patience, you’ll develop your own unique style and approach to night street photography.
Post-Processing Tips for Night Street Photography
Night street photography can present unique challenges when it comes to post-processing. With the right techniques, however, you can enhance your images and bring out the best of your low light captures. Here are some tips for post-processing your night street photography:
Adjust for Exposure and Contrast
In post-processing, adjust the exposure and contrast of your images to bring out the details in the shadows and highlights. Be careful not to overdo this, as it can lead to an unrealistic look. Use the histogram tool in your photo editing software to ensure that the exposure and contrast adjustments are accurate.
Reduce Noise
Night photography often results in noise due to the higher ISO settings and longer shutter speeds used to capture the images. Use noise reduction tools in your editing software to reduce the noise and improve the overall quality of your images. Be cautious when using these tools, as overuse can result in a loss of detail.
Use Creative Editing Techniques
Experiment with creative editing techniques to add mood and depth to your images. For example, adding a vignette can draw the viewer’s eye to the subject of the photo, while color grading can create a specific mood or atmosphere. Be careful not to overdo these effects and maintain a subtle and natural look.
Save Your Images in High Quality
When saving your edited night street photography images, save them in the highest quality possible to maintain their details and sharpness. Store them in a format that does not compress the image, such as TIFF or PSD. This way, you can make further adjustments or print them if desired.
Remember, post-processing is not a substitute for good photography skills. While these tips can enhance your night street photography, it’s still important to get as much right in-camera as possible. With practice and experimentation, you can develop your own unique style and techniques for post-processing your night street photography.
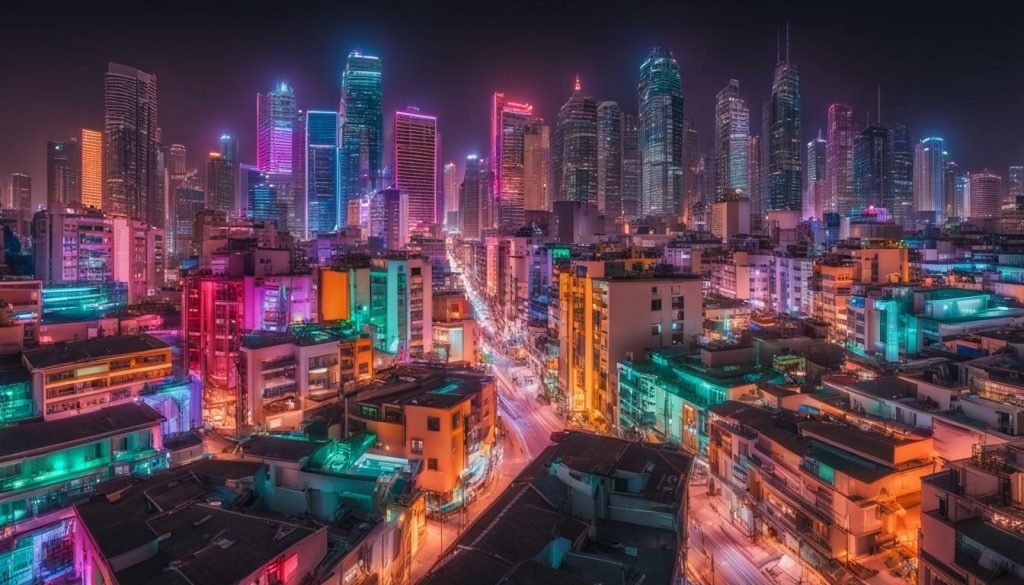
Showcasing Your Night Street Photography
Once you’ve mastered the art of night street photography, it’s time to share your work with the world. The internet provides an array of platforms to showcase your images, from social media to photography websites. Building an online presence is an essential part of promoting your work and reaching a wider audience.
Instagram is a popular platform for sharing night street photography, with hashtags like #nightphotography and #urbanexploration attracting many photography enthusiasts. Flickr is another great platform to showcase your night street images and connect with other photographers in the community.
Participating in exhibitions is also a great way to showcase your work and gain exposure. Look for local galleries or photography events in your area and submit your work for consideration. This can be a great way to connect with other photographers and potentially sell your work to interested buyers.
Engaging with the photography community is also important for getting your work noticed. Join online groups or forums dedicated to night street photography or urban exploration to share your work and connect with other photographers. Attend photography meetups or workshops in your area to network and learn from other professionals in the field.
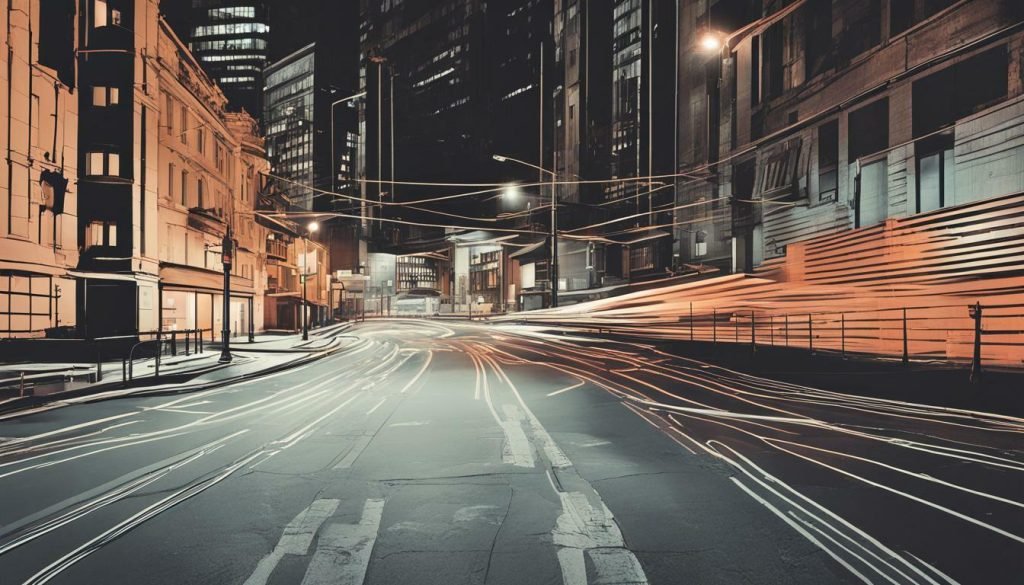
Remember, showcasing your night street photography is not just about promoting your work, but also about contributing to the photography community and inspiring others to explore the beauty of urban environments at night.
Conclusion
Night street photography can be challenging yet incredibly rewarding. By mastering the techniques and equipment required for low light conditions, photographers can capture stunning and unique images that showcase the essence of cities at night.
Remember to understand the importance of composition, exposure, and post-processing techniques. Take the time to explore different perspectives and subjects to bring out the energy and diversity of urban environments. Don’t be afraid to experiment and practice to hone your skills and find your own style.
By sharing your night street photography on online platforms, participating in exhibitions, and connecting with the photography community, you can showcase your work and gain recognition for your talents. So, grab your camera and explore the urban landscape at night – the possibilities are endless.
FAQ
Q: What is night street photography?
A: Night street photography involves capturing images in urban environments at night, utilizing low light conditions to create unique and visually appealing photographs.
Q: What are the challenges of night street photography?
A: Night street photography presents challenges such as low light conditions, potential noise and grain in images, and the need to adjust camera settings for optimum exposure in dark environments.
Q: What gear is essential for night street photography?
A: Essential gear for night street photography includes a camera with manual controls, a wide-aperture lens, a sturdy tripod, and a remote shutter release.
Q: How do I set up my camera for night street photography?
A: To set up your camera for night street photography, adjust the ISO to a higher sensitivity, use a wide aperture for more light, select an appropriate shutter speed to capture movement, and adjust white balance for accurate colors.
Q: What composition tips can enhance night street photography?
A: Composition tips for night street photography include utilizing leading lines, incorporating reflections, and emphasizing interesting light sources to create visually dynamic images.
Q: How can I master exposure in night street photography?
A: Mastering exposure in night street photography involves techniques such as long exposures, bracketing, and using exposure compensation to handle different lighting conditions and maintain proper exposure.
Q: How do I capture the essence of cities at night through street photography?
A: To capture the essence of cities at night, explore different perspectives, subjects, and scenes that showcase the energy and character of urban environments after dark.
Q: What challenges might I encounter in night street photography?
A: Common challenges in night street photography include noise in low light conditions, motion blur from longer exposures, and difficulties in focusing accurately in the dark.
Q: What post-processing tips can enhance night street photography?
A: Post-processing tips for night street photography include adjustments for exposure, contrast, noise reduction, and creative editing techniques to enhance the final images.
Q: How can I showcase my night street photography?
A: You can showcase your night street photography by building an online presence through websites and social media, participating in exhibitions, and engaging with the photography community.

