Setting up your very own photography studio can seem like a daunting task, especially for beginners. However, having a dedicated space for photography can make a massive difference in the quality of your work and the overall experience. This article will guide you through the essential steps and equipment needed to set up your first photography studio.
Key Takeaways:
- Setting up a photography studio is essential for beginners to enhance the quality of their work.
- Proper planning and equipment selection are necessary for a successful studio setup.
Planning Your Photography Studio Setup
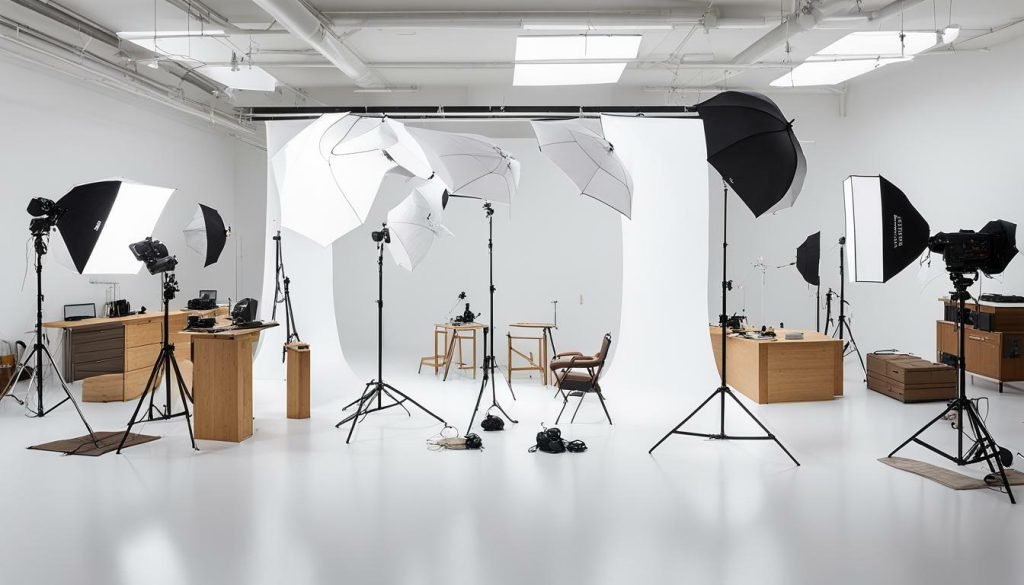
Planning is essential when setting up a photography studio. The right studio equipment for photographers and studio lighting setup can make all the difference in creating the perfect shot. Here are some tips to consider when planning your photography studio setup:
Equipment Needed
When selecting equipment for your photography studio, it’s essential to consider the types of shoots you’ll be doing. Cameras, lenses, lighting equipment, and backdrops are all essential studio equipment for photographers. For lighting, invest in a few quality strobes and light modifiers. This will give you plenty of lighting options to create the right photo ambiance.
Studio Space
Choosing a suitable space for your photography studio is crucial. Look for an area with ample natural light and consider the layout of the space. You’ll need room for equipment and props and a designated area for clients to sit during shoots. Don’t forget to have space for a computer or editing station, too!
Studio Lighting Setup
Your studio lighting setup is one of the most critical aspects of your photography studio. Natural light can be great for specific shoots, but investing in artificial lighting is necessary for more complex setups. Consider the different types of lighting available, such as continuous lighting or strobes. With the proper studio lighting setup, you can create the perfect mood and tone for your photographs.
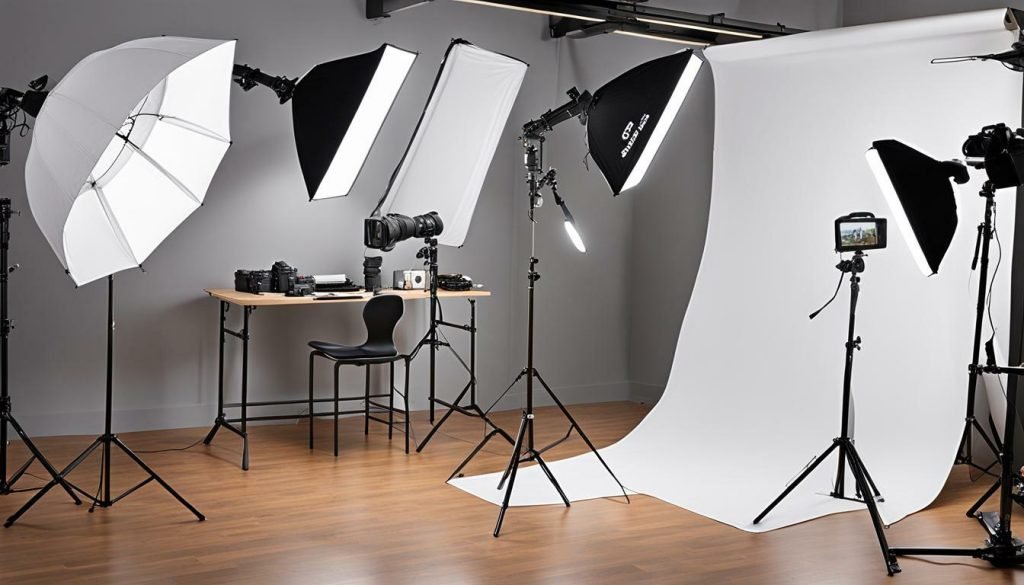
Investing in quality studio equipment for photographers is crucial for creating professional-level results. Proper planning and consideration of your equipment, studio space, and lighting will help you create a photography studio that supports your creativity and helps bring your vision to life.
Creating the Ideal Studio Lighting Setup
Lighting is a crucial element in any photography studio setup, determining the quality and mood of your images. To create the perfect lighting setup, consider different lighting techniques and equipment options that suit your photography style. Here are some photography studio essentials to create an ideal lighting setup:
1. Types of Lighting
There are three main types of lighting that you can use in your studio:
- Natural Light: Utilize windows and skylights to let in natural light. Position your subject appropriately to make the most of the natural light source.
- Artificial Lighting: Utilize artificial lighting equipment like strobes and continuous lights to create the desired effect. These types of lights are suitable for portrait and product photography.
- Combining Natural and Artificial Light: You can combine natural and artificial light sources to create a unique look for your images. For example, use strobes for the primary light source and use natural light as a fill light.
2. Lighting Equipment
Good quality lighting equipment is essential for creating a professional-looking photography studio. Here are some essential lighting equipment to consider:
| Equipment | Description |
|---|---|
| Strobes | Flash units emit a burst of light, creating a powerful light source for photography. |
| Continuous Lights | Lights that stay on constantly make it easier to see how the light affects your subject. |
| Light Modifiers | Accessories that modify the light source include softboxes, umbrellas, and reflectors. These tools help control the intensity, direction, and quality of light in your studio. |
| Light Meter | A device that measures the amount of light and allows you to set the exposure correctly. |
3. Lighting Placement
Knowing where to place your lighting equipment is essential for creating the desired effect. Here are some lighting placement techniques for studio photography:
- Key Light: This is the primary light source that illuminates the subject. Place it to the left or right of the camera position, to the subject’s side.
- Fill Light: This light source fills in the shadows created by the key light. Place it on the opposite side of the critical light.
- Back Light: This light source highlights the subject’s edges, creating a separation from the background. Place it behind the subject.
- Ambient Light: This is the natural light source in your studio. Use it to create a natural-looking scene by adjusting the camera settings and lighting positions accordingly.
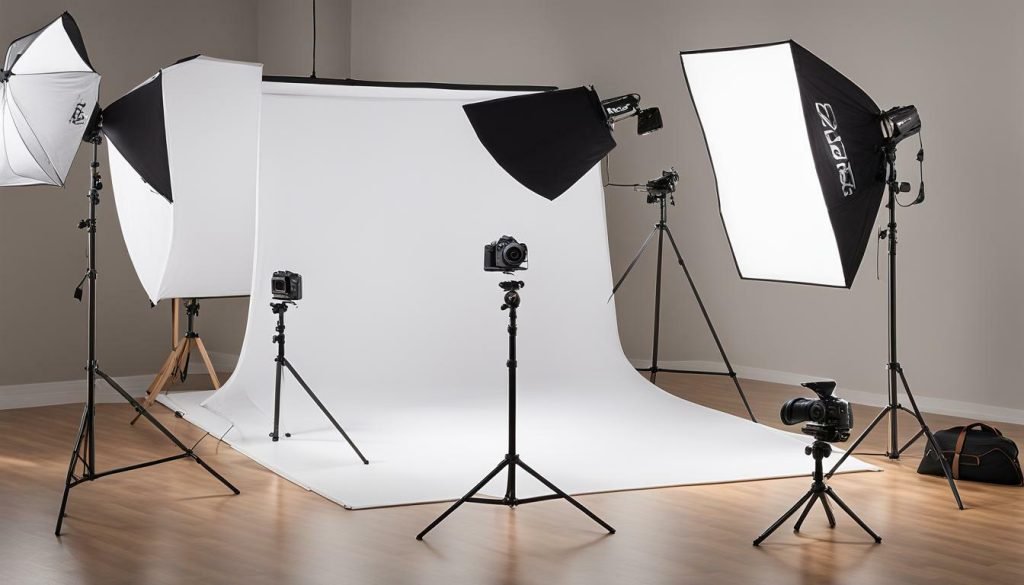
You can create the perfect lighting setup for your photography studio by understanding different lighting techniques, equipment, and placement. Experiment with different lighting setups to find the perfect combination that works for you.
Setting Up Your Studio Backdrops for Photography
Backdrops are an essential element in any photography studio setup. They provide a clean and consistent background for your subjects, enhancing the overall visual impact of your images. When selecting and setting up your studio backdrops, it is essential to consider several factors to ensure the best results.
Choose the Right Type of Backdrop
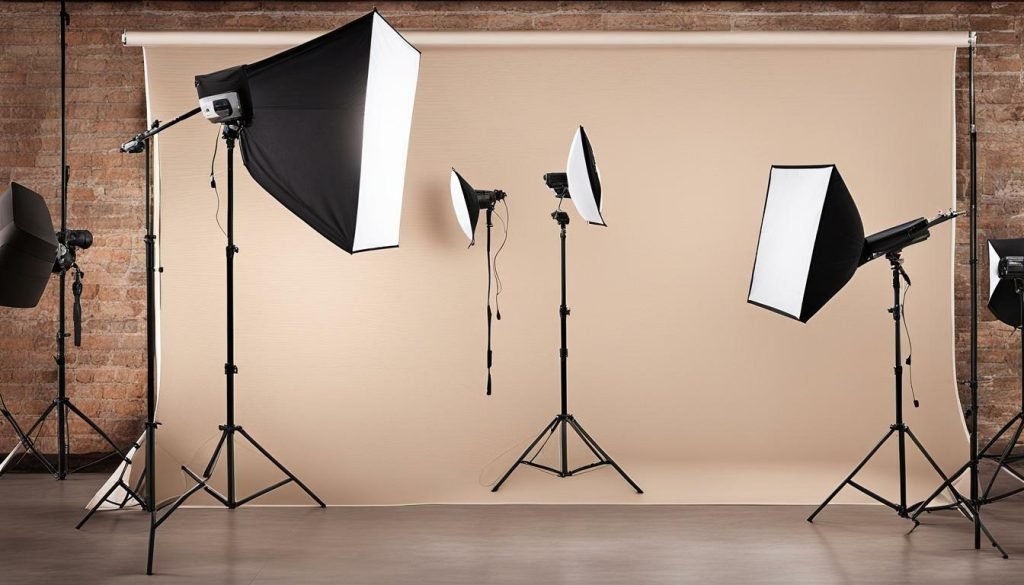
There are several types of backdrops available for photography studios, each with its own unique advantages and disadvantages. The most common types of backdrops are seamless paper, muslin, and vinyl.
Seamless paper provides a smooth and uniform background without any visible seams. It is available in a wide range of colors and sizes, making it a versatile option for various types of photography. Muslin backdrops are made from cotton material and offer a textured and slightly uneven background. They are more lightweight and easily portable than seamless paper. Vinyl backdrops offer a more durable and long-lasting solution than paper or muslin. They are also available in various patterns and designs, perfect for creative portrait photography.
Consider the Colors and Textures
The color and texture of your backdrop can significantly affect the mood and atmosphere of your images. When selecting a backdrop, it is important to consider your subject’s color palette and the shoot’s overall aesthetic. Neutral colors such as gray, beige, or white are versatile options that can complement any subject. Bright colors or bold patterns can add interest and creativity to your images.
Set Up Your Backdrop Correctly
Once you have selected your backdrop, it is crucial to set it up correctly to avoid unwanted shadows or wrinkles. Make sure to iron or steam your backdrop before use to remove any creases. When setting up your backdrop, ensure it is secured tightly to eliminate any wrinkles or unevenness. You can use clamps or sandbags to hold the backdrop in place and prevent it from moving or falling.
By following these tips and considerations, you can create a stunning and professional-looking backdrop for your photography studio. Remember to include a variety of backdrops in your photography studio setup checklist to ensure you have suitable options for any shoot.
Essential Photography Studio Equipment
Setting up a photography studio requires various equipment to achieve professional-quality results. Here are some of the essential items to include on your photography studio equipment list:
- Camera and lenses: This is the most crucial equipment for any photographer. Invest in a quality camera body and lenses suitable for your photography style.
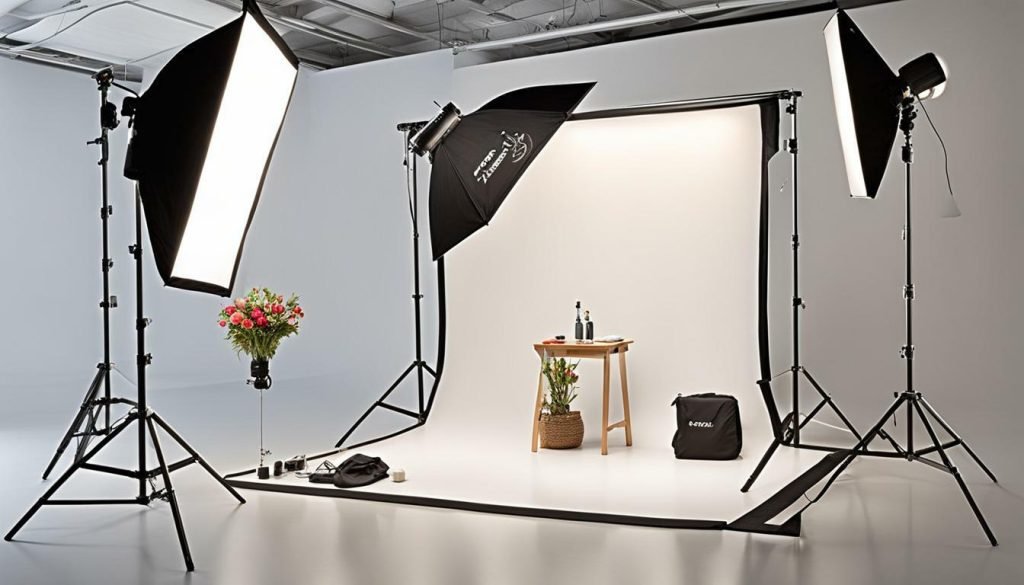
- Lighting equipment: Proper lighting is crucial for studio photography. Essential lighting equipment includes strobes, light stands, softboxes, and umbrellas.
- Backdrops: Various backdrops are essential to achieve different styles and moods in your photography. Include seamless paper, muslin, and vinyl backdrops in various colors and textures.
- Tripods: A sturdy tripod is crucial for achieving sharp and steady shots. Consider investing in a full-sized tripod for studio work and a smaller one for on-location shoots.
- Reflectors and diffusers are essential for controlling light and creating different effects in your photography.
- Props: Depending on your photography style, props such as furniture, fabrics, and accessories can add interest and depth to your shots.
- Computer and software: A high-quality computer and editing software are necessary for post-processing and editing your images.
When choosing equipment for your photography studio, invest in quality items that will last and provide reliable performance. Proper maintenance and care of your equipment is also important to keep it in good condition and extend its lifespan.
Tips for Setting Up a Small Photography Studio
When setting up a small photography studio, it’s essential to be mindful of space constraints while creating an environment that allows creativity and productivity. Here are some tips to help you optimize your studio setup:
- Maximize natural light: Choose a space with large windows for plenty of natural light if possible. This creates a pleasant working environment and saves on energy costs.
- Utilize wall space: Install shelving or hanging racks on walls to store equipment and props, freeing up floor space for shooting. This also makes everything easily accessible and organized.
- Choose multi-functional furniture: Opt for furniture that serves multiple purposes, such as a table that can double as a shooting surface or storage area.
- Invest in collapsible equipment: Look for equipment that can be easily collapsed or disassembled for storage when not in use.
- Keep it simple: Don’t clutter your small studio space with unnecessary equipment or props. Keep only what you need to achieve the desired results.
By implementing these tips, you can create an efficient and functional small photography studio that allows you to produce high-quality images while making the most of limited space.
Creating an Efficient Studio Workflow
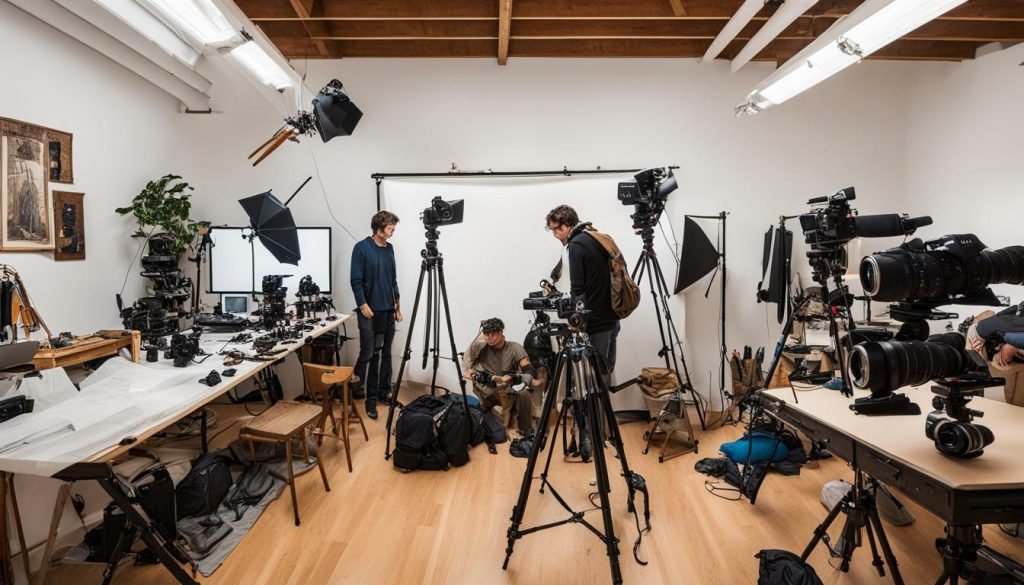
Setting up a photography studio involves more than choosing the right equipment and creating a beautiful space. To make the most out of your studio, you need to establish an efficient workflow that saves you time and maximizes productivity. Here are a few tips to help:
- Organize your equipment: Keep your equipment organized and within reach. This will save you time and prevent frustrating interruptions while you work.
- Create a schedule: Establish a schedule to ensure all projects and tasks are completed on time. This will also help you avoid overworking yourself and burning out.
- Streamline your post-processing: Create a system for processing and editing images that is both efficient and effective. This could include creating custom presets or creating a consistent workflow for editing.
- Automate repetitive tasks: Utilize software and online tools to automate repetitive tasks such as scheduling social media posts or sending out email newsletters.
- Invest in studio management software: Consider investing in studio management software to help keep track of client data, schedules, and financial records. This will help simplify your workflow and keep everything organized in one place.
By implementing these tips, you can ensure that your photography studio operates at maximum efficiency, allowing you to focus on creating beautiful images for your clients.
Conclusion
Setting up your first photography studio can seem overwhelming, but with careful planning and the right equipment, it can be a rewarding and successful venture. Remember to choose a suitable space for your studio, plan your equipment and lighting setup, select suitable backdrops, and establish an efficient workflow. By investing in quality equipment and maximizing the functionality of a small space, you can achieve professional-level results.
Don’t underestimate the importance of proper planning and organization in a photography studio setup. By following the tips and advice provided in this article, you can create a functional and aesthetically pleasing space. Whether you’re an amateur or a professional photographer, setting up a dedicated studio can help you take your craft to the next level.
FAQ
Q: What are the essential steps for beginners to set up a photography studio?
A: The essential steps to set up a photography studio for beginners include choosing a suitable space, planning the layout, acquiring essential equipment such as cameras, lenses, and lighting, setting up backdrops, and establishing an efficient workflow.
Q: What equipment is needed for a photography studio setup?
A: The equipment needed for a photography studio setup includes cameras, lenses, lighting equipment such as strobes or continuous lights, tripods, light stands, reflectors, and diffusers.
Q: What are some tips for setting up a small photography studio?
A: Some tips for setting up a small photography studio include maximizing natural light, utilizing space-saving techniques, and investing in creative storage solutions. It’s also important to carefully plan the layout and choose equipment that suits the available space.
Q: How important is proper lighting in a photography studio?
A: Proper lighting is crucial in a photography studio as it dramatically impacts the quality of the photos. Different types of lighting, such as natural light, artificial lighting, and strobes, can be used depending on the desired effect and the type of photography.
Q: What types of backdrops can be used in a photography studio?
A: Different types of backdrops used in a photography studio include seamless paper, muslin, and vinyl. The choice of backdrop colors and textures can greatly enhance the overall aesthetic of the studio and complement the subject being photographed.
Q: How can I create an efficient workflow in my photography studio?
A: To create an efficient workflow in your photography studio, it’s essential to organize your equipment, props, and files. Streamlining post-processing tasks and optimizing time management are also crucial in improving productivity.

